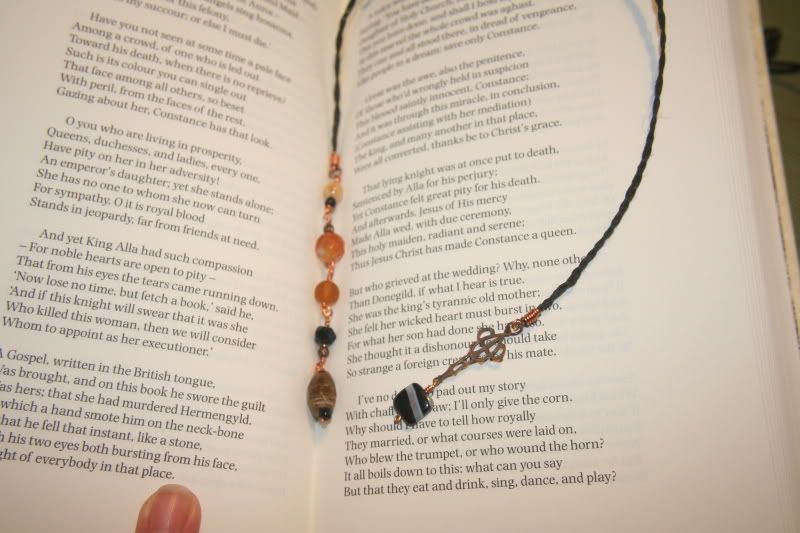
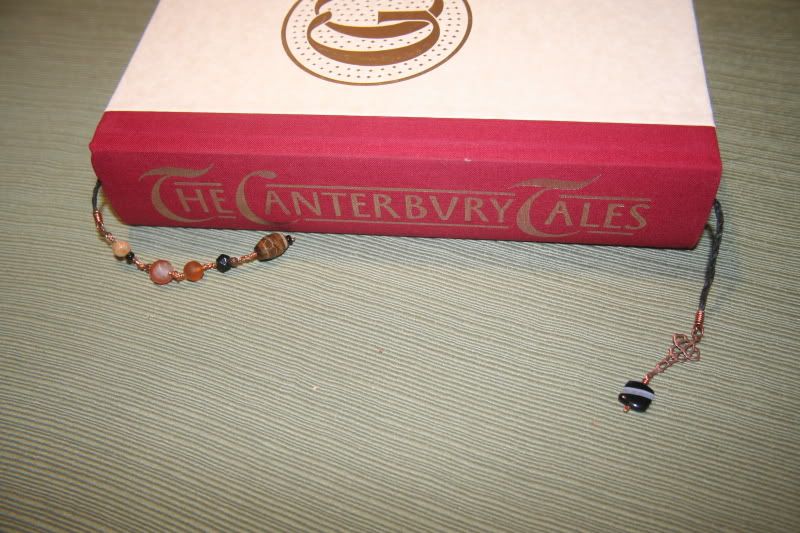
This is a quick project, great for last minute ideas. It took about 30 minutes to finish - including failure, rethink and redo.....
Here's what I used -
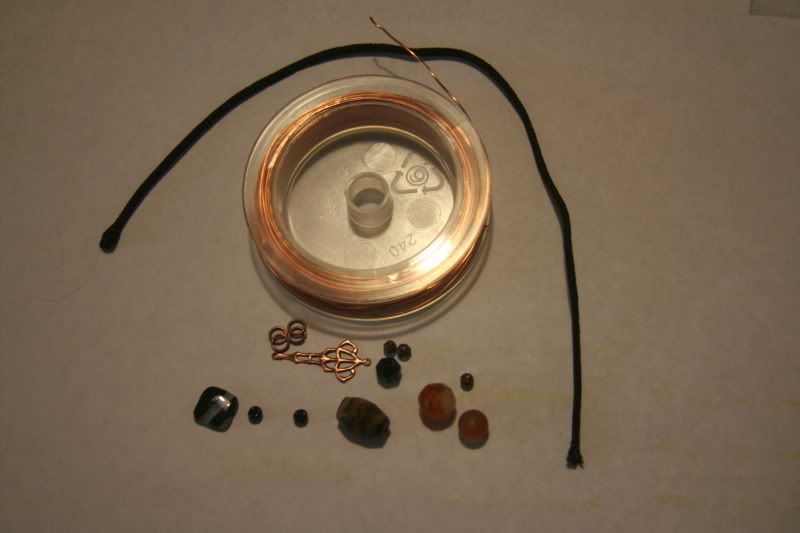
Black cording (mebbe from JoAnn's, mebbe from Michales)
Copper wire 46-702-11 (Rings & Things)
Copper jump rings -37-136-7 (Rings & Things)
Filigree Lantern - 44-149-7 (Rings & Things)
Filigree spacer beads -24-104-6 (Rings & Things)
Carnelian, black banded agate, tiger eye, lampwork (Sedona Stones)
10/1 seed beads (Michaels)

Cut the cord to about 10 inches and 2 pieces of the copper wire at about 2 1/4"
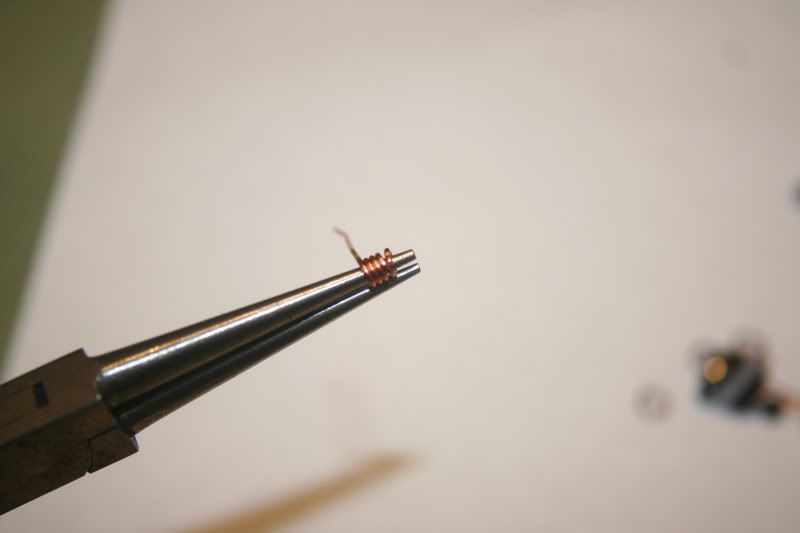
Create a wire coil with the 2 pieces of copper wire. This is what you will use to connect the adornments to the cord.
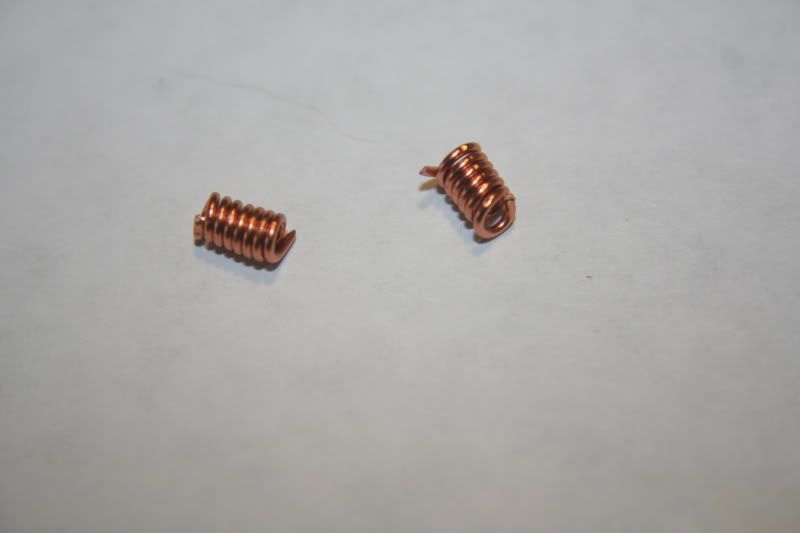
here are your coils. These coils are very ver-sah-tile. They can be used in so many different jewelry projects. They are great for adding a clasp to a necklace or bracelet made from leather. Even if you are using sterling for your coil, you can't beat the price when making them yourself, as opposed to buying them.
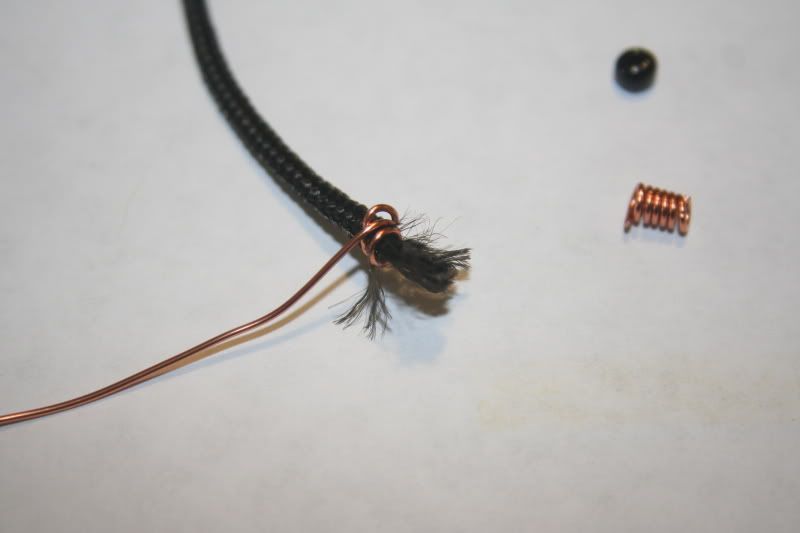
Now you want to thread the coil onto the cord. Like putting nut onto a bolt - that same action. Ok, you need to thread the coil.....*fray* .....Hrm.......*think* *think* *snap*
Wet the end of the cord and thread the coil......*fray*....Hrm.......*think* *think* *snap*
Use a lighter (Thus the tweet for a lighter, it was a frantic search.....FRANTIC) and heat the ends to melt them to prevent a fray -
Ok, you need to th.......*fray* UGH!!!!!!! .....Hrm......*think* * think* *snap*
Place the cord along the tine of your chain nose pliers. Now wrap the wire around the tine and the cord to creat...............*fray* SERIOUSLY!!!! AREYOU KIDDING ME!!!!........Hrm.......*snap****
RETHINK!!!!

I have some waxed linen cord - approx 1.5mm. I have had it for years and use it for braided chokers and bracelets. I cut three 12 inch pieces because I am going to braid them to make it thicker and more stout. The braiding process will shorten the finished lenghts, and I want to keep it close to 10".
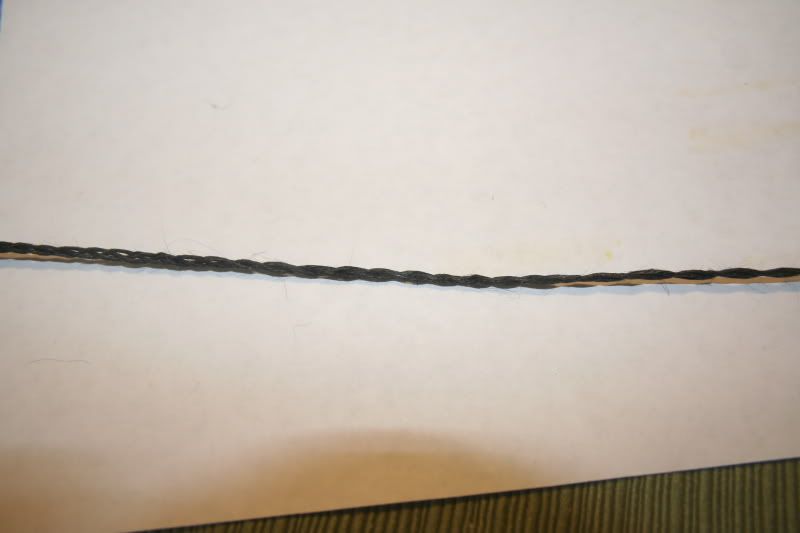
Now I have the braided cord for the body of the bookmark.
REDO!!!!
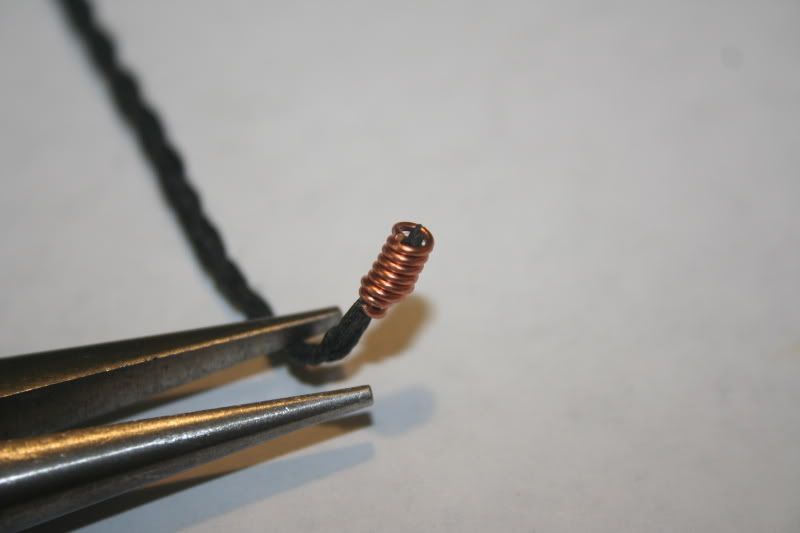
Thread the copper coil onto (SUCCESS!!!) the end of the braided cord and pinch the end onto the cord to hold it firm.
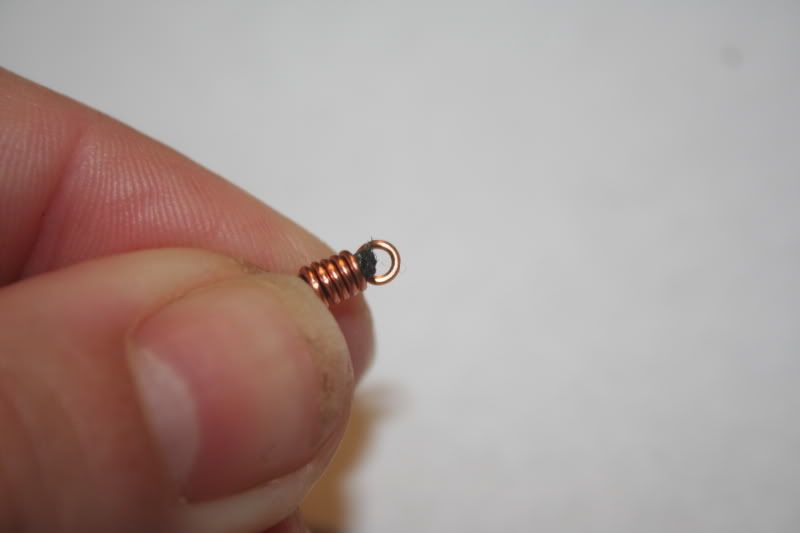
Pull the last loop out to a right angle. That last loop will be the connector for the copper coil - Neat!
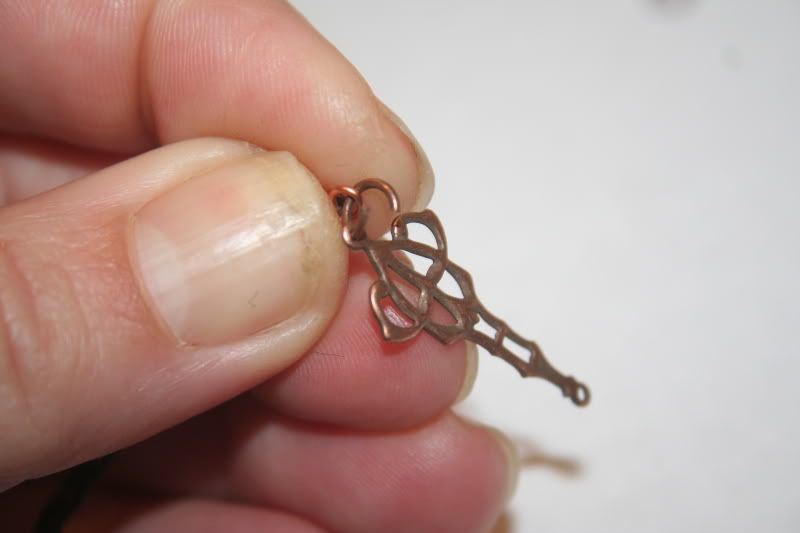
Use a jump ring to connect the filigree to the book mark. The jump ring is not required, you can connect it directly to the coil, but using the jump ring will allow it to swing free, and gives it more movment.
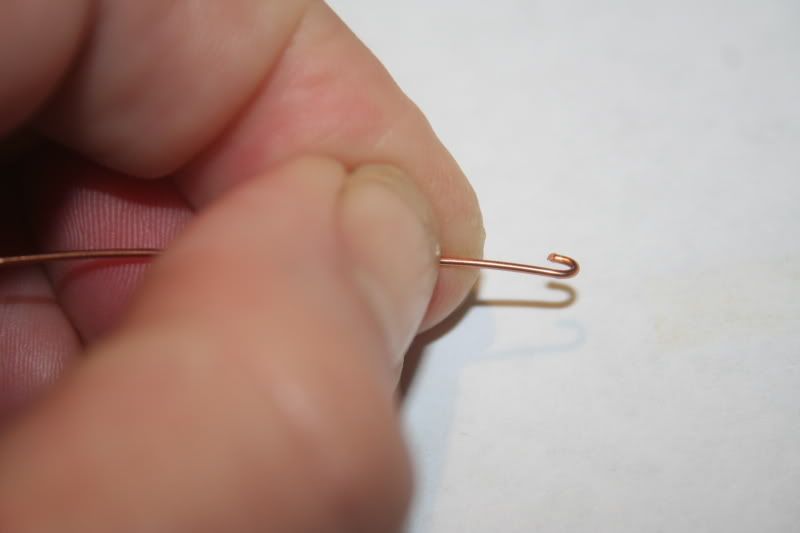

Cut a 2 inch piece of copper wire and create a head pin. Bend the end of the wire back onto itself and crimp it with your pliers to create the base of the head pin to secure the bead to the pin.
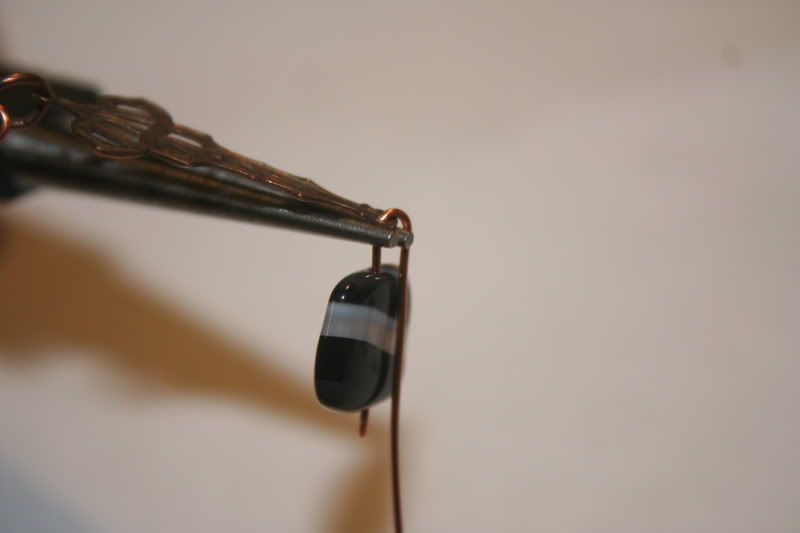

Here I slid the bead onto the headpin and then the filigree, so the loop of the wrap would connect the bead and the filigree. This end of the book mark is done!
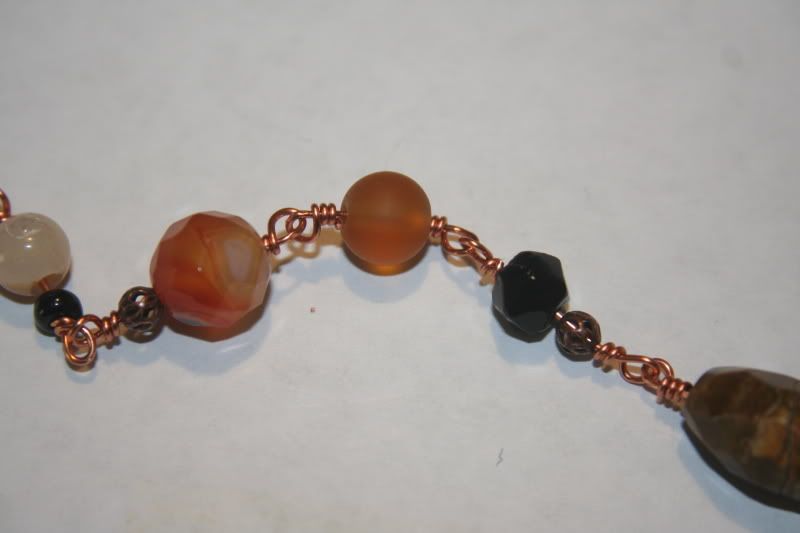
This same technique will be used to create the dangle for the other side of the book mark. I started from the bottom up. Created a head pin as before, and added the tiger eye and made a wrapped loop. I continued the wire wrapped chain adding different beads to each link for a total of 5 links.
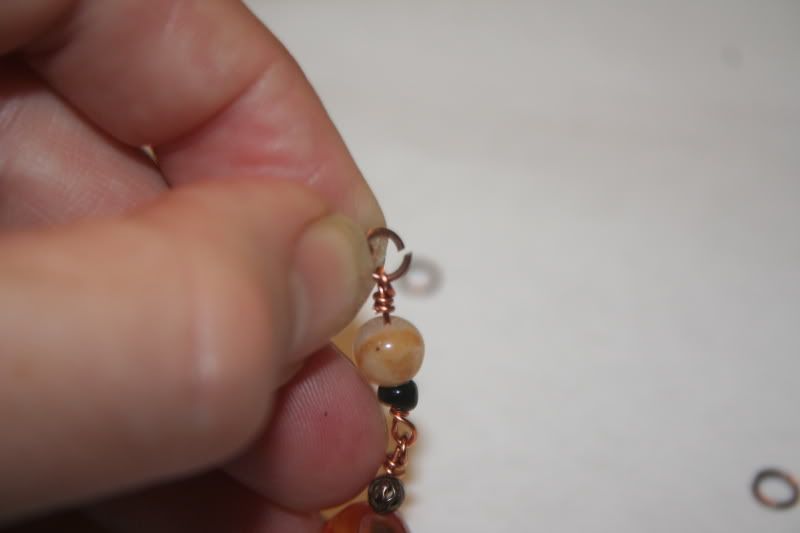
Again, bend the last coil of the copper spiral used to on the other end to create a connector. Attach the wire wraped adornment via jump ring to the coil and you have......
REDEMTION!!!!
Finished product.